Purpose
Divide trusses in a layout into Release Groups and save to Director, enabling a partial layout to be built, shipped, and invoiced. For example, floor trusses often need to be built, delivered, and invoiced earlier than roof trusses.
Steps
- From the Output menu, select Stack List or click
 .
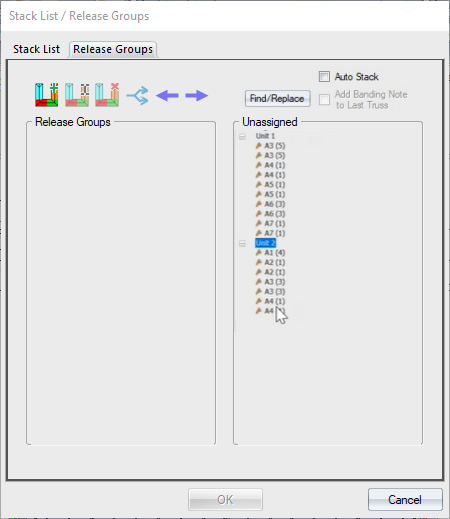
. - Click the Release Groups tab.
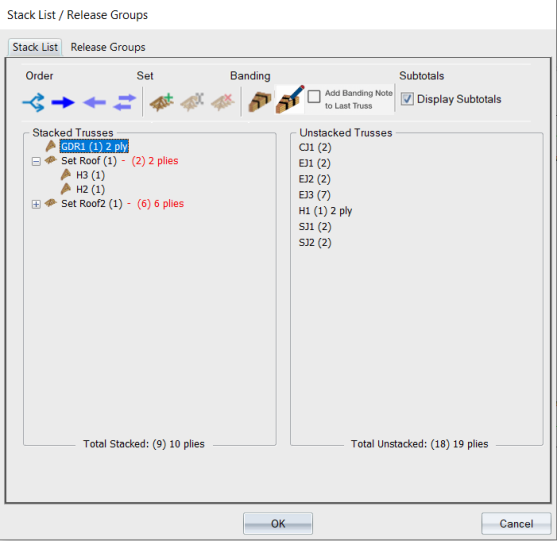
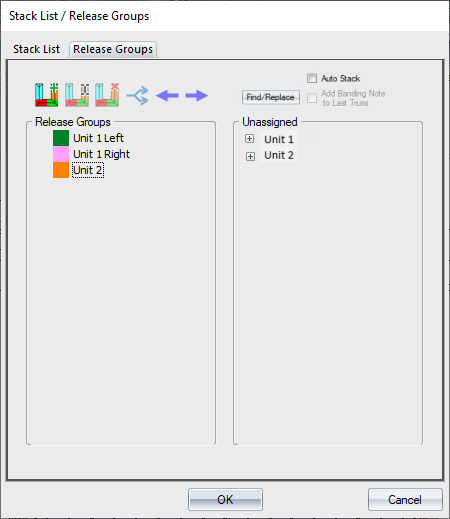
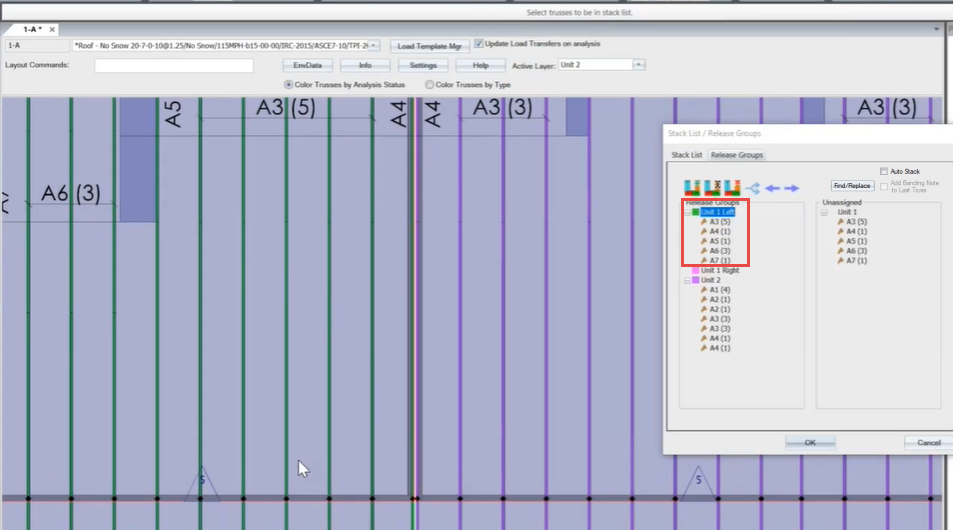
The Stack List/Release Groups dialog displays. In this example, there are two groups, Unit 1 and Unit 2.
Note: In 2025.1, the Stack list and Release Groups dialogs were reorganized for a better user experience. Subtotals display in red and buttons on the Stack List dialog are grouped by function.
Designers can easily see their total quantity of assigned vs. unassigned trusses.
-
In sets, release groups and layers/levels, designers can see total quantities of collapsed lists.
-
This may prevent trusses from accidentally being left off of production lists.
When looking at quantity counts, some manufacturers focus on the truss quantity and some on the number of plies; displaying both quantities is useful.
-
Number of plies is the total individual fabrication units that a manufacturer will produce. (10) 1 ply + (3) 2 ply = (13) 16 plies.
If using release groups for production groups, having both truss quantity/plies and board footage helps identify when larger groups should be split into two groups or smaller groups should be combined.
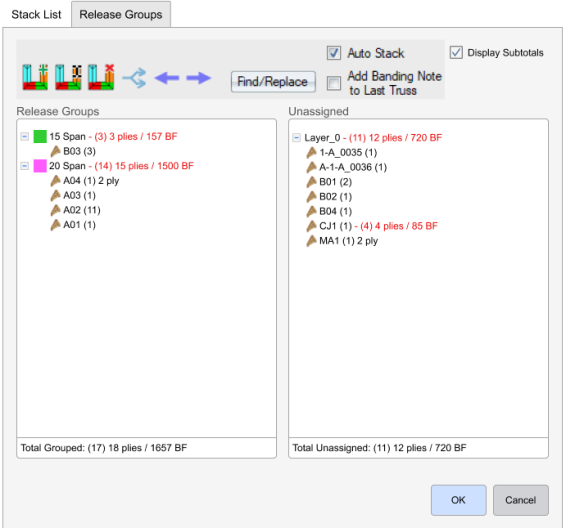
3. Expand a unit in the Unassigned column to see the components in each.
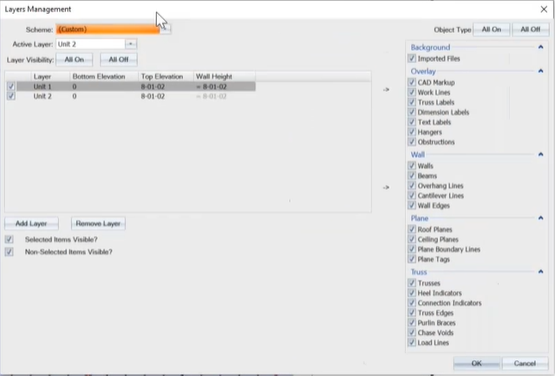
On the screen above, Unit 1 and Unit 2 reflect the truss layers enabled on the Layers Management dialog. You can also select a group of trusses to display in the Unassigned list by dragging a box around those trusses on the layout.
Create a Release Group
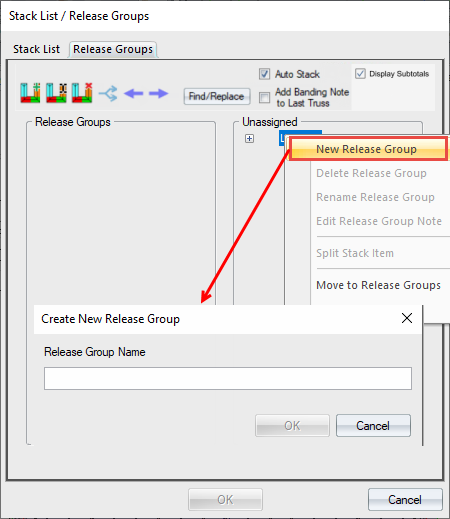
1. On the Release Groups dialog, right-click to display a menu of options.
2. Click Create New Release Group.
The Create New Release Group dialog displays.
 Note: You can also create a release group by clicking the icon on the toolbar. You can also rename and delete a release group using the toolbar.
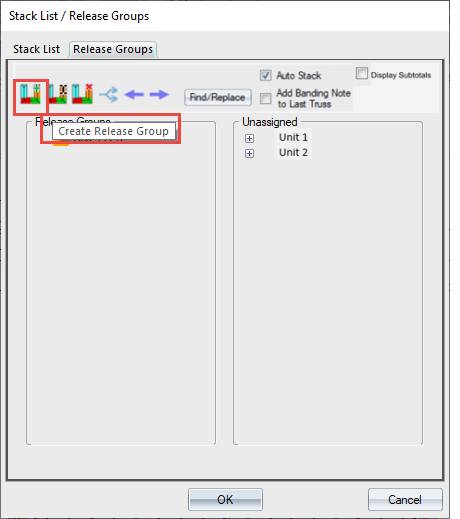
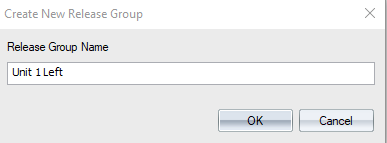
2. Enter a name for the new release group and click OK.
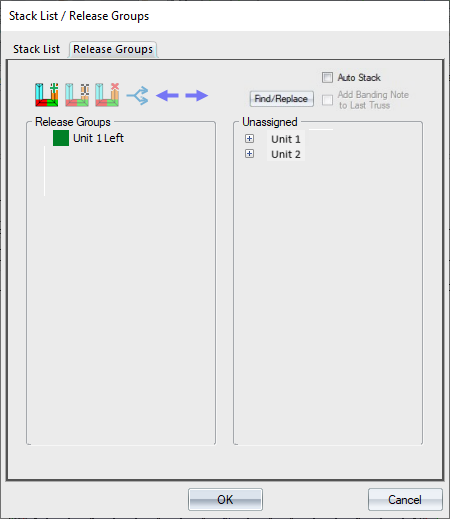
The new release group displays in the left column, under Release Groups.
3. Create additional release groups, as necessary.
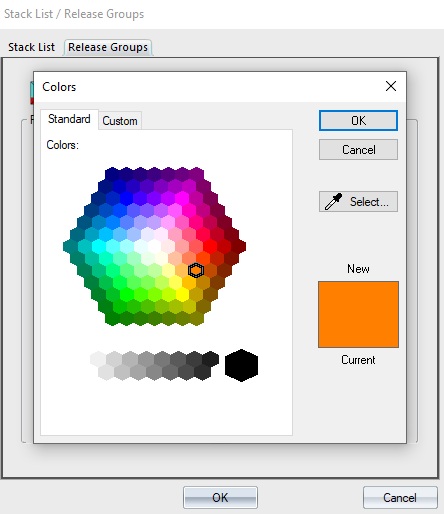
4. To change the color for a release group, click the colored square next to the release name.
The Colors dialog displays where you can change the color assigned to a release group.
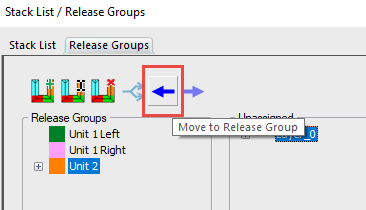
5. To include unassigned trusses in a release group, highlight the selected release group in the left column and drag trusses from the Unassigned column to the selected release group in the left column. You can also use the left arrow on the toolbar to move items to release groups.

The trusses in the release group display on the layout in the colors assigned to that release group.
You can also move Unassigned trusses to a selected release group by selecting them in the model space; any of the selection methods works, including drawing a box.
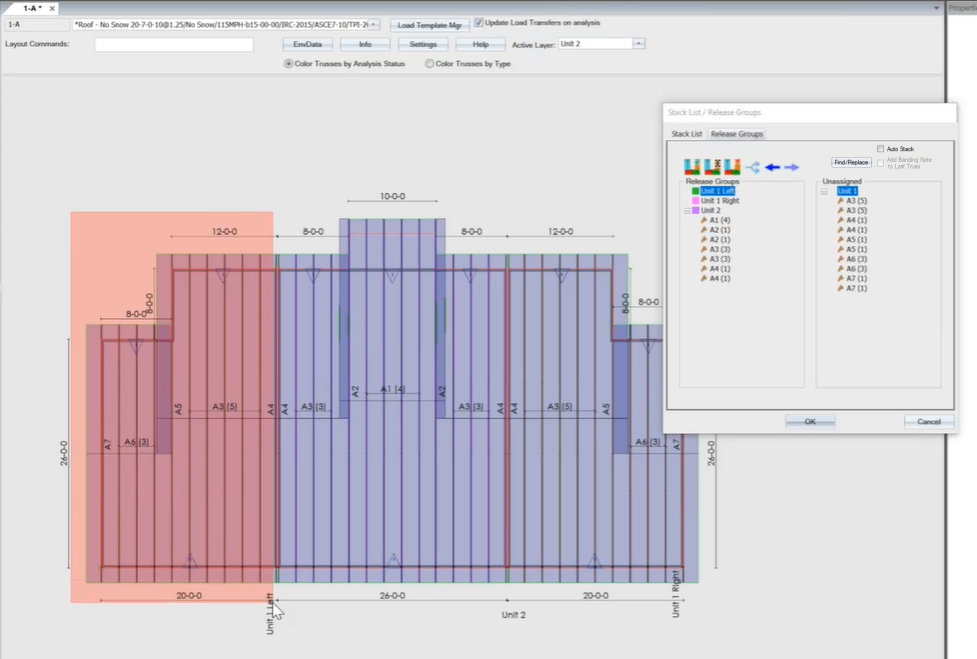
The trusses appear in the release group; the trusses on the layout are the same color as the release group they are part of.
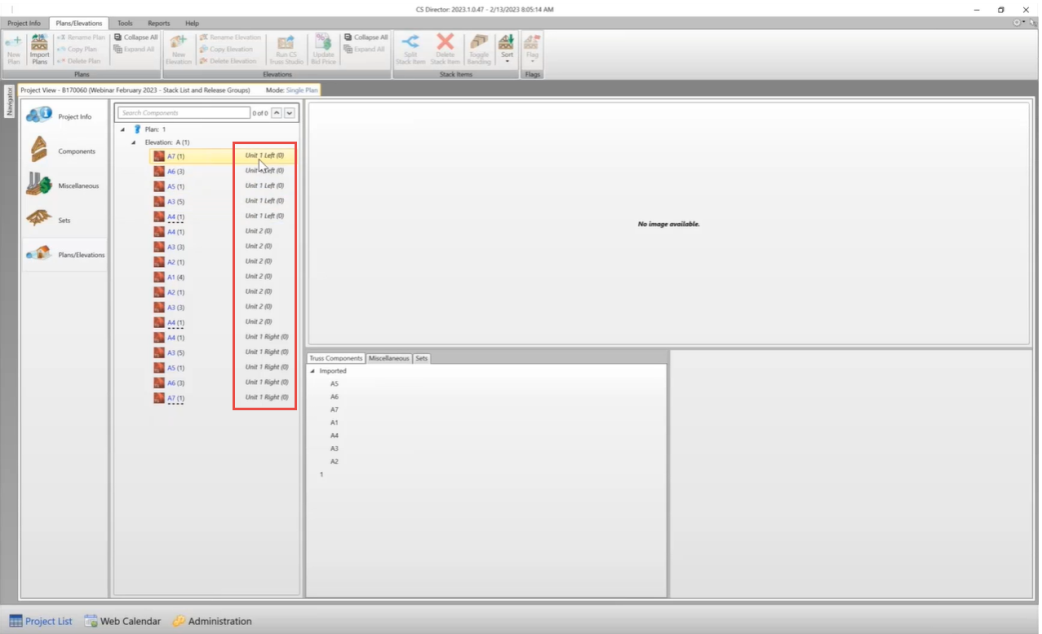
In Director, the list of trusses displays with the release group note next to each truss.
Note: You can easily find and replace release group names, using the Find/Replace function.
